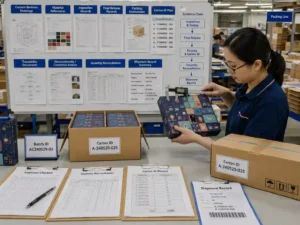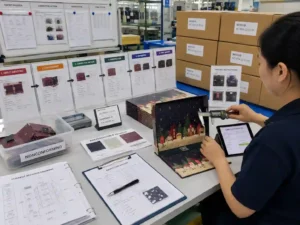
Small calendar compartments require precise artwork control because narrow panels, drawer fronts, and perforated areas leave less tolerance for print movement and finishing variation. The correct bleed safe area small compartments setup uses approved dielines, protected text zones, separate artwork layers, and preflight checks before production. Designers should confirm which areas can move, which elements must remain visible, and how cutting, folding, and assembly tolerances affect final appearance.
Why Are Bleed and Safe Areas Important for Small Calendar Compartments?
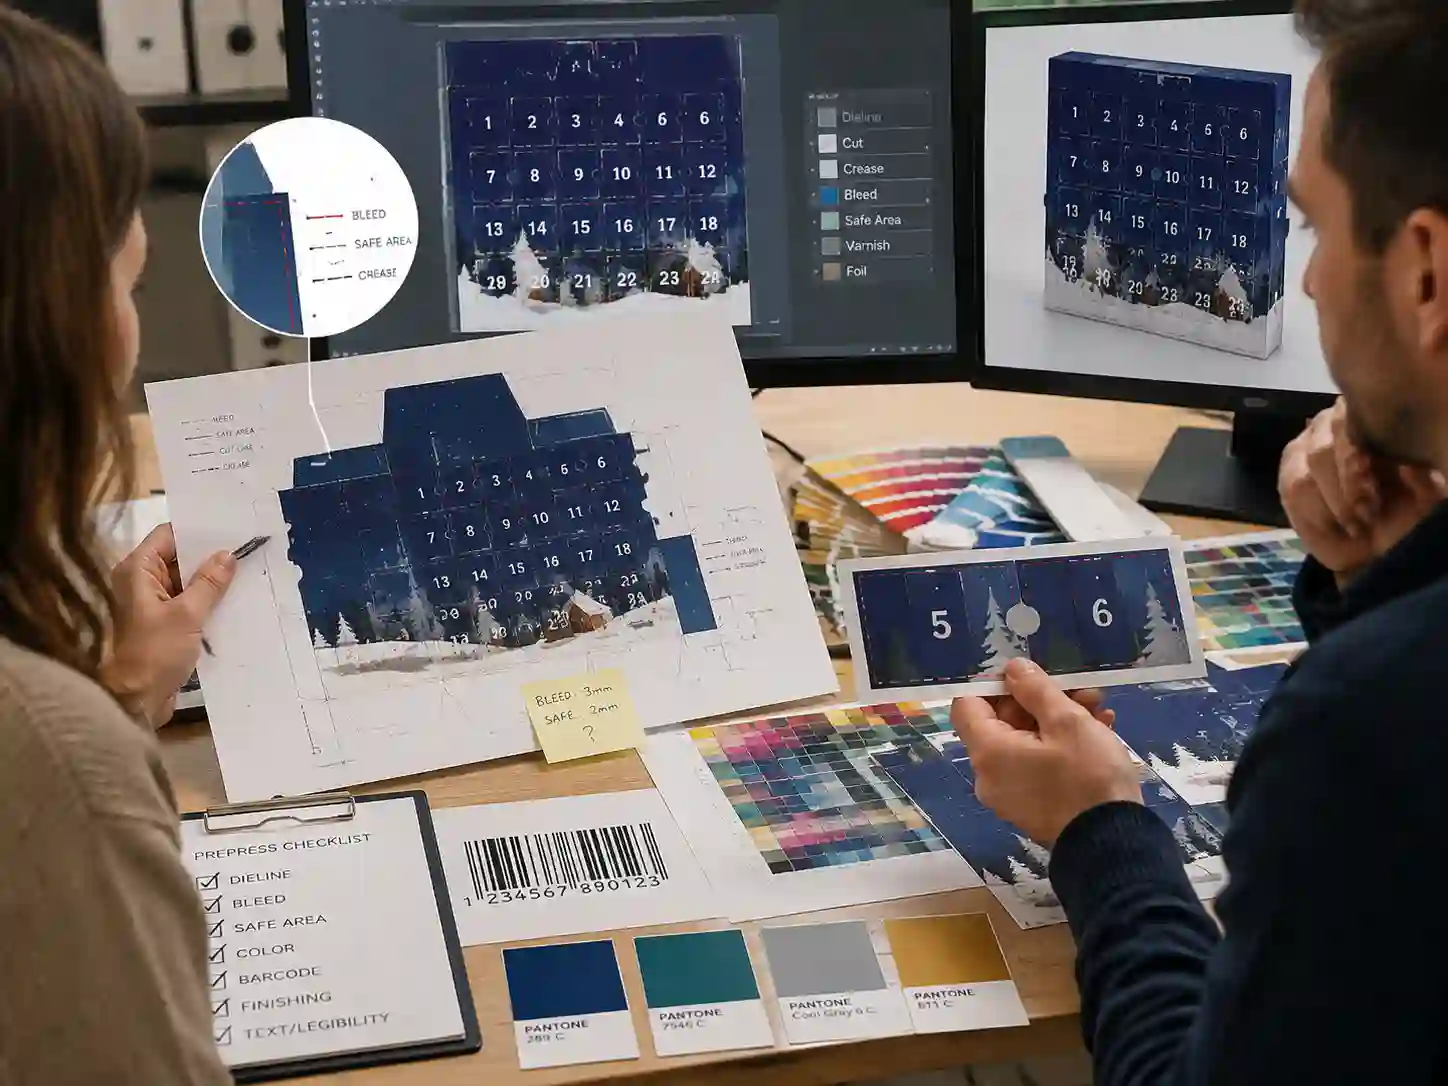
Bleed extends artwork beyond the final cut line, while safe areas protect important content from being trimmed or shifted during production. On small calendar compartments, these controls are critical because a few millimeters of movement can affect numbers, icons, barcodes, or multilingual instructions.
Verified artwork files should include the approved dieline, cut lines, fold lines, bleed area, and safe area guides. These records allow packaging teams and suppliers to confirm that the design intent matches the production structure.
How Should Bleed Safe Area Small Compartments Be Set?
The correct setup begins by building artwork around the final structural layout rather than placing graphics after the dieline is complete. The bleed should cover expected trimming variation, while the safe area should keep critical elements away from edges, folds, and perforations.
- Start with the approved dieline: Use the latest structural file showing compartment boundaries, folds, cuts, and openings.
- Create separate artwork layers: Keep background graphics, product information, numbers, barcodes, and finishing references separated for review.
- Extend background artwork into bleed zones: Avoid exposed white edges caused by minor cutting variation.
- Protect important content: Keep text, symbols, and required information inside the safe area based on the project tolerance requirements.
- Run preflight checks: Confirm resolution, color mode, overprint settings, linked files, and barcode readability before approval.
What Elements Need Extra Protection on Small Compartments?
Small compartments need additional attention because functional areas and graphic areas often overlap. Numbers, opening instructions, barcodes, and multilingual copy should not be placed close to cut lines or folding points.
| Artwork Element | Main Risk | Recommended Check |
|---|---|---|
| Door or drawer numbers | Numbers may appear uneven or partially trimmed | Review placement against dieline and safe area guides |
| Barcode area | Scanning performance may be affected by distortion or finishing | Approve location and confirm clear surrounding space |
| Small text or multilingual copy | Reduced readability after cutting or folding | Check final-size artwork proof |
| Edge graphics | Visible gaps or misalignment after conversion | Verify bleed extension and print tolerance |
How Do Production Teams Verify Artwork Before Printing?
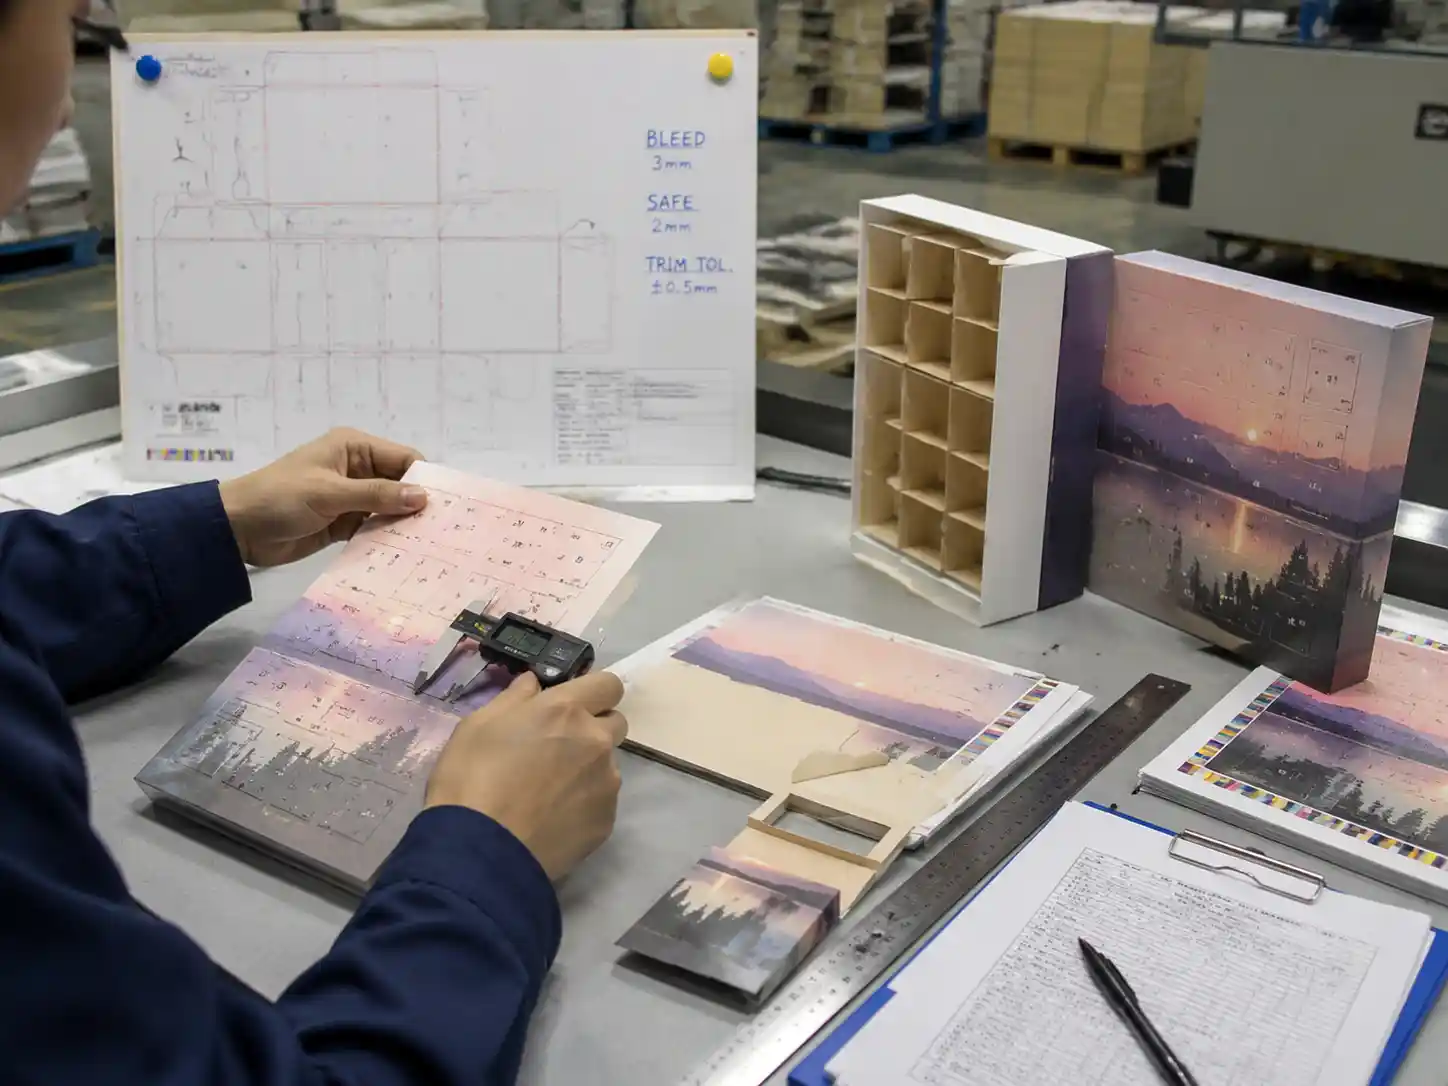
Production verification should combine digital file checks with physical sample review. A supplier or packaging team can compare approved artwork files, printed proofs, and structural samples to confirm that compartment graphics remain correctly positioned after cutting and assembly.
Useful approval evidence includes:
- Approved dieline with revision identification.
- Artwork proof showing bleed and safe area boundaries.
- Color proof or printed sample for visual comparison.
- Inspection notes confirming critical graphic positions.
Which Factors Change Safe Area Recommendations?
Safe area requirements vary by structure, finishing process, and graphic importance. A simple printed panel may allow different placement compared with a small drawer face, perforated door, or wrapped paperboard component.
Project-dependent factors include:
- Compartment size and available print area.
- Cutting and folding locations.
- Surface finishing layers such as coating or lamination.
- Whether graphics must align across multiple doors or drawers.
These decisions should be confirmed through artwork approval records rather than assumptions. Packaging buyers should review final proofs and structural samples before authorizing production.
What Is a Practical Preflight Checklist for Small Calendar Compartments?
A focused preflight checklist helps prevent avoidable artwork issues before production release.
- Confirm the dieline version matches the approved structure.
- Verify bleed extends beyond all trim edges.
- Check that critical content stays within safe areas.
- Review barcode placement and quiet zones.
- Confirm color settings and finishing layers.
- Approve a final proof or sample record.
How Can Buyers Reduce Artwork Risk During Supplier Review?
Buyers can reduce risk by requesting clear artwork records, revision control, and physical validation samples where necessary. Suppliers such as custom advent calendar box services typically need accurate production files to convert designs into finished packaging.
For teams developing new seasonal packaging, reviewing artwork requirements early with a packaging partner helps align design, structure, and manufacturing expectations. Explore advent calendar box buying guides for related packaging preparation topics or request a custom quote when discussing a project.

FAQs
Should safe areas be the same for every calendar compartment?
No. Safe areas depend on compartment size, structure, cutting method, and which graphic elements require protection.
Can bleed replace the need for safe areas?
No. Bleed protects against exposed edges after trimming, while safe areas protect important content from being cut or shifted.
When should artwork be checked against a sample?
Artwork should be reviewed against a physical sample when small compartments, alignment-sensitive graphics, or complex finishing details are involved.