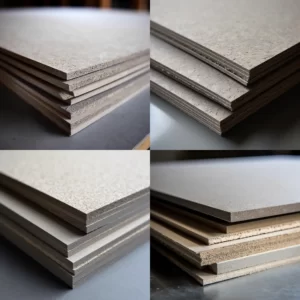
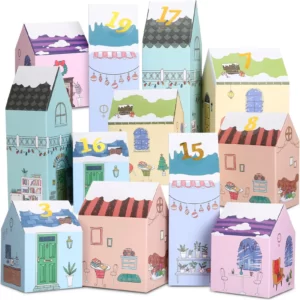
Advent calendars are a beloved holiday tradition that brings joy and excitement to people of all ages. From the thrill of opening a tiny door to reveal a hidden treasure to the sweet anticipation of Christmas Day, these festive calendars are a delightful way to count down to the holiday season. If you’re looking to create your very own custom advent calendar box, you’re in for a creative and fulfilling journey. In this comprehensive guide, we’ll walk you through the entire process, from the initial inquiry to the moment your beautifully crafted boxes are ready for distribution.
Step 1: Sending Out Inquiries
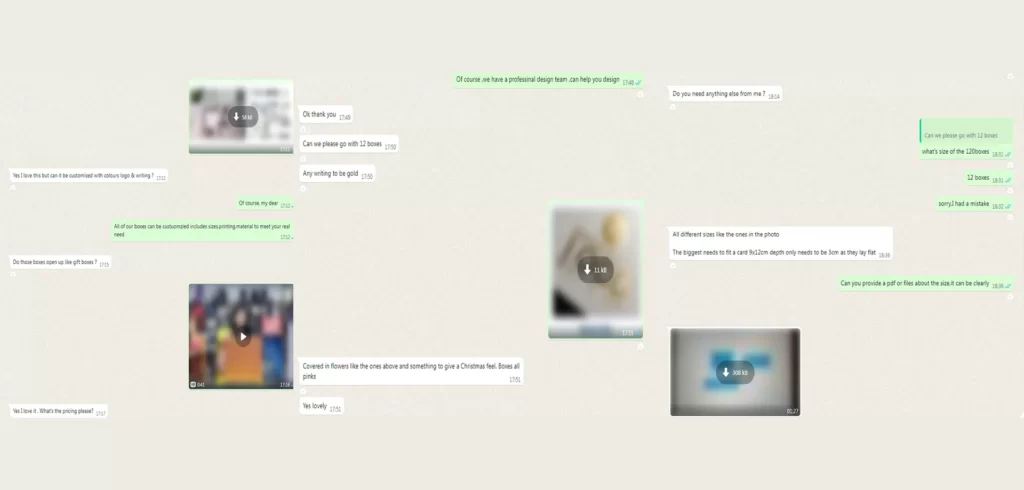
The first step in creating your bespoke advent calendar box is reaching out to potential suppliers. Start by researching manufacturers who specialize in custom packaging. You’ll want to consider factors like cost, production capabilities, and lead times. Send out inquiries to multiple suppliers, detailing your requirements, including size, design, and quantity.
Step 2: Collaborative Design
Once you receive responses from different suppliers, it’s time to discuss your design vision. Engage in open communication with the suppliers to convey your ideas, themes, and any specific artwork or branding you want on the boxes. Collaborate closely to ensure your design is tailored to your needs.

Step 3: 3D Rendering
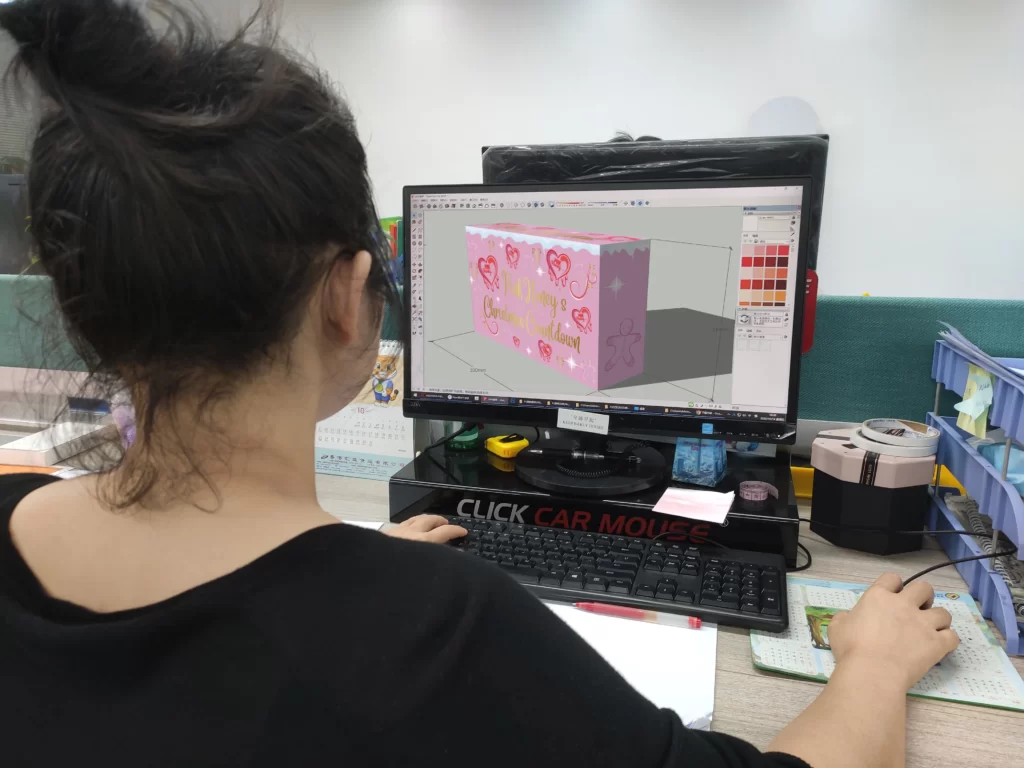
In this exciting phase, your vision will start taking shape. Suppliers will create 3D renderings of your advent calendar box design, providing you with a detailed visual representation. This is the perfect time to make any necessary revisions or enhancements to ensure the final product matches your expectations.
Step 4: Sample Delivery
Before proceeding with mass production, request sample boxes. This step allows you to physically inspect and feel the quality of your advent calendar box. Make sure the sample meets your standards in terms of design, materials, and functionality. If any adjustments are needed, be sure to communicate with the supplier promptly.
Step 5: Printing Process
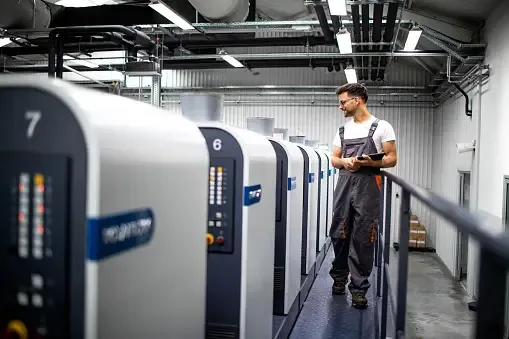
Once you are satisfied with the sample, it’s time to move forward with the printing process. You will decide on the printing method and materials. This is where your design truly comes to life, with vivid colors, logos, and any special finishes you desire. Quality printing is vital to make your advent calendar boxes stand out.

Step 6: Die-Cutting and Assembly
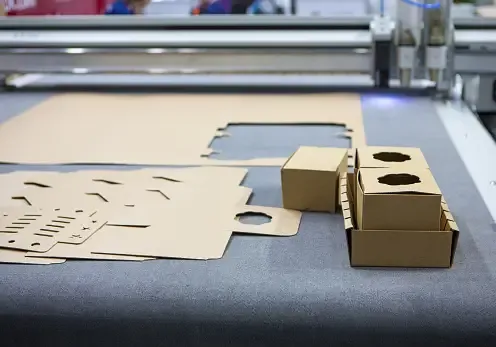
The box shape and structure are critical. Your supplier will use a die-cutting process to create the precise shape of the advent calendar box. They will also assemble the boxes, adding compartments for each day of December. Ensure that the doors are perfectly aligned and can be opened easily.
Step 7: Quality Assurance
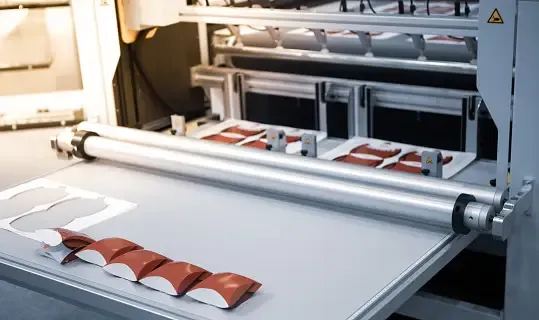
Before the boxes are ready for distribution, a rigorous quality assurance process is crucial. Your supplier will inspect each box for any defects, ensuring they meet your quality standards. This step is vital to ensure your advent calendars are flawless and ready to delight your customers.
Step 8: Packaging and Delivery
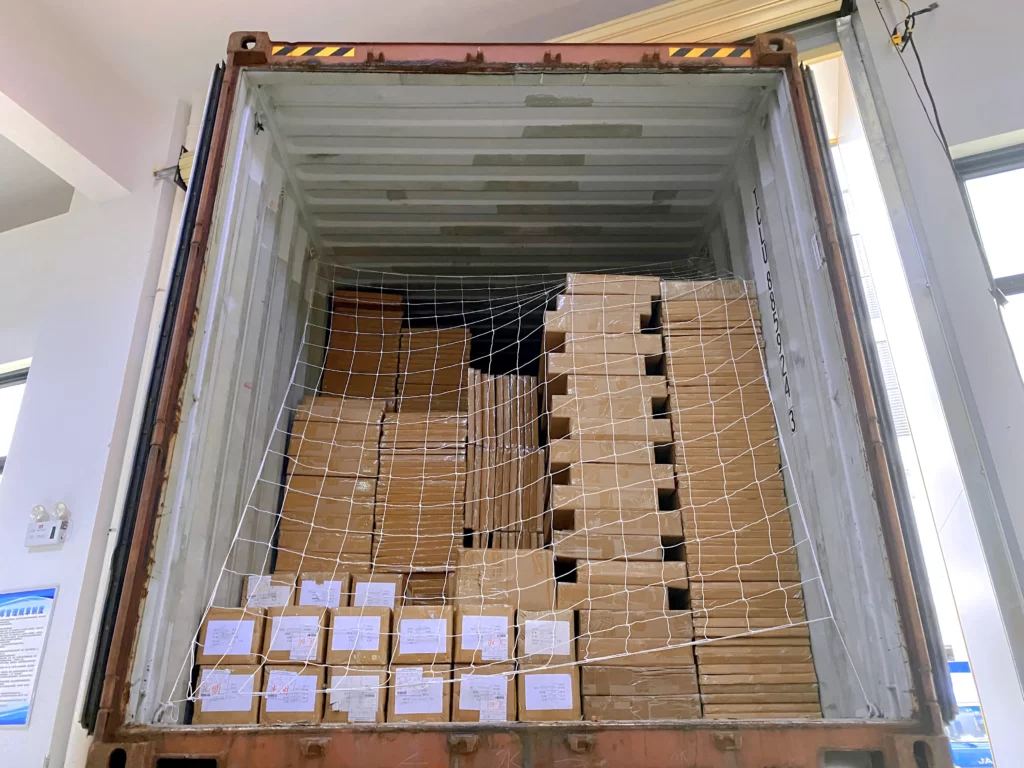
The final step is packaging the advent calendar boxes for safe transport. Consider the logistics of shipping, and work with your supplier to choose the most cost-effective and secure method. Ensure that the boxes are delivered in excellent condition, ready to be filled with festive surprises.


Conclusion
Creating a custom advent calendar box is a labor of love that involves meticulous planning, creativity, and attention to detail. By following these steps and working closely with your supplier, you can produce an advent calendar that not only meets but exceeds your expectations. Whether you’re creating these boxes for personal use or to share the joy of the holiday season with others, the process outlined above will help you craft a memorable and cherished tradition for years to come. Happy crafting!

